For each study, TeleTrader provides a short description, groups it in one or more categories, and assigns tags. You can change the description to make your own notes about the study, add categories to a study or remove them from it, and assign your own tags to a study. The name of a study and its type (indicator, signal or function) can also be adapted.
You can mark a study as your favorite. Those studies will show up when you click the button Favorites in the Insert Study dialog.
All this is done in the Study Editor. On the Tools menu, click on Study Editor to display it.
▪ In the study list on the left side, click on the study.
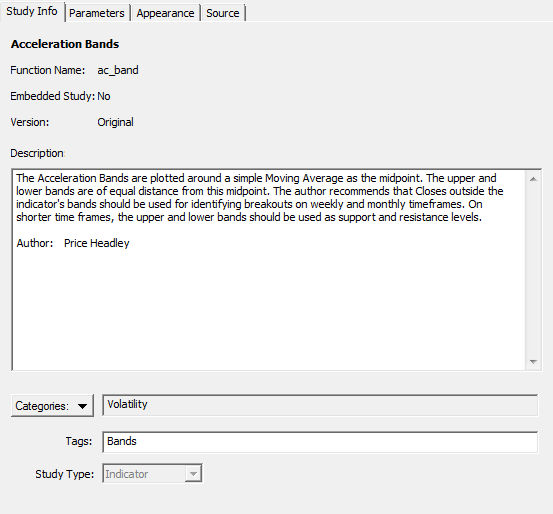
▪ On the Study Info tab, edit the content of the Description field.
▪ In the study list on the left side, click on the study.
▪ On the Study Info tab, click on the Categories button and select the category that you want to add.
Note All selected categories are highlighted with a check mark. Custom studies are automatically added to the category Custom.
▪ In the study list on the left side, click on the study.
▪ On the Study Info tab, click on the Categories button and click on the category that you want to remove.
▪ In the study list on the left side, click on the study.
▪ On the Study Info tab, type additional tags in the Tags field. You can use free text for your tags. Separate each tag with a comma ( , ) or semicolon ( ; ).

▪ In the study list on the left side, right-click on the study and choose Add to Favorites.
▪ In the study list on the left side, right-click on the study and choose Remove from Favorites.
Note The study type can only be changed for custom studies that you have created yourself.
▪ In the study list on the left side, click on the study.
▪ On the Study Info tab, choose a different Study Type from the list:
|
Function |
Internal function, which cannot be inserted on a chart or price page. This study type is only displayed on the Functions tab of the dialog. |
|
Indicator |
This study type is only displayed on the Indicators tab of the dialog. |
|
Signal |
This study type is only displayed on the Signals tab of the dialog. |
Note You can only rename custom studies that you have created yourself.
▪ In the study list on the left side, click on the study.
▪ On the File menu of the Study Editor, click on Rename.
▪ Enter a new name for the study and press the Enter key.
▪ Click Save All to save all changes.
Note A backup file of your custom studies named UserStudies.bak is created automatically as soon as you click Save All. If you want to only save the changes that you did to one study, without saving the changes that you did to other studies, click File > Save on the menu of the Study Editor.